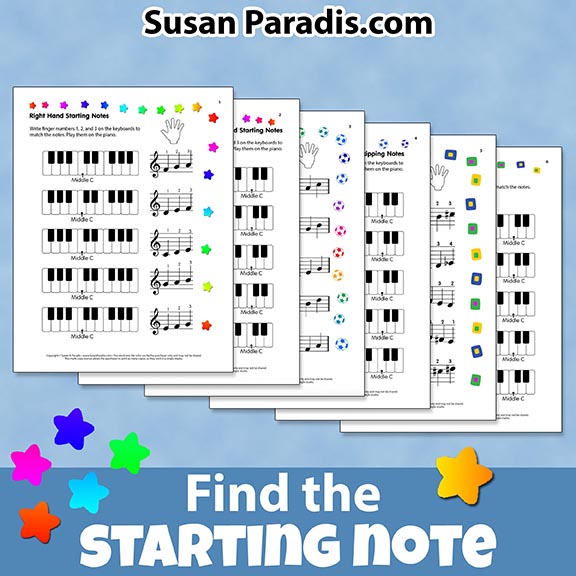
Find the Starting Notes (With Accidentals)
Click here to purchase
[Updated to combine all levels into one file.]
Do you remember when I posted a easier version of this worksheet back in June? It has been a very popular worksheet because students actually have to figure out how to place their hand so they can start a piece. [The easy version uses only fingers 1,2, 3 and does not contain accidentals.] Sometimes students get a little confused in trying to work out music on their own and need some help in learning how to get started.
Simple things like having them wiggle their starting finger and fly it around in the air before landing on the key is very helpful with students who never seem to bother with finger numbers. This is especially true of students with small learning disabilities.
In the past students who had perception difficulties dropped out of formal music study, but now we know a lot more about how to modify our teaching to reach all children.
There are two pages in this document, one for the right hand one for the left hand.
Objective
To identify and play several different starting positions containing accidentals on the keyboard.
Level
Students who are familiar with and can identify notes on the grand staff containing accidentals. Students should be comfortable with chromatic signs.


Hi Susan, where would I find Right Hand starting notes, left hand starting notes livel one? I can find the one with accidentals and you refer there to the easier version you published in June; according to the comments, that would have been June of 2012 ( can we remember then ?? 🙂
Thanks as always for your wonderful work….
Alice Miller
Lincoln Nebraska
Wow… your work is wonderful. Thanks a lot!
Thanks so much, Susan! Those are great ideas! I’m playing with just individuals. (I don’t currently offer group lessons, though I’d love to figure out how to work that in my schedule at some point). Your games are perfect in that they are short enough to squeeze into a 30 minute lesson, but pack a powerful pedagological punch!
Valerie,
Thanks for taking the time to comment!
I love that phrase “powerful pedagogical punch!” I hope you don’t have it trademarked! Can I use it when I give my next presentation? 🙂
Absolutely! 🙂
These starting position worksheets have hit the spot with a couple of my students. They are just enough to quickly go through. Thanks for the new one.
Thanks! I’ve been meaning to ask you, how do you organize your materials? I’ve been putting your printables in file folders, but the flashcard compononets always fall out. BTW, I played about 15 games of “hearts and clubs” and “steal a heart” over the last couple of days and my students loved them! I also loved the chance to get off the bench and sit at the floor with my students 🙂 Thanks so much for sharing your wonderful ideas!!
Valerie,
Thank you so much for the feedback! Are you playing with a group or just one student?
For activities that have an entire page, I put them in pocket folders, the ones without brads. I buy my pocket folders at WalMart or some other store in August when they put them on sale. I keep the pocket folders in very inexpensive magazine holders that I bought at Ikea. Sometimes after school starts, WalMart will put the left over pocket folders for about $.10 each, so I always check it out. I put the cut up cards that go with the game boards in the pockets of the folder, with either rubber bands or in a zip lock bag and store them folder in the magazine holder.
If the cards do not have a game board, I put them in zip lock bags and store them in a narrow box that I also got at Ikea. I will often separate them by levels with rubber bands in the same bag. I try to make an insert out of card stock for the bags that I keep in the box. I put the name of the game, a small picture, and sometimes the directions. The card stock help the bags sit up in the box better so I can find them easier. But I get behind making the inserts. I’ve thought over the years that I could post the inserts for everyone to use, but now I have so many that it would take forever!